We are proud of our reusable event counters. Supplied with a high-quality printed graphic that can be easily swapped, it is one of the few reusable event counters which also has our exclusive header system.
This elevated display area helps your stand stand out from a distance, making it easier for visitors to locate your brand in crowded exhibition halls.
The following video provides an outline of how to setup our events counter, along with the written instructions below.
Step 1. Insert the four metal rods to the slits which are found in the rollable graphic.
Step 2. Wrap the rollable graphic around the velcro base of the event counter.
Step 3. With the wrap in place, link the connecting bars to the metal rods on either side of the stand.
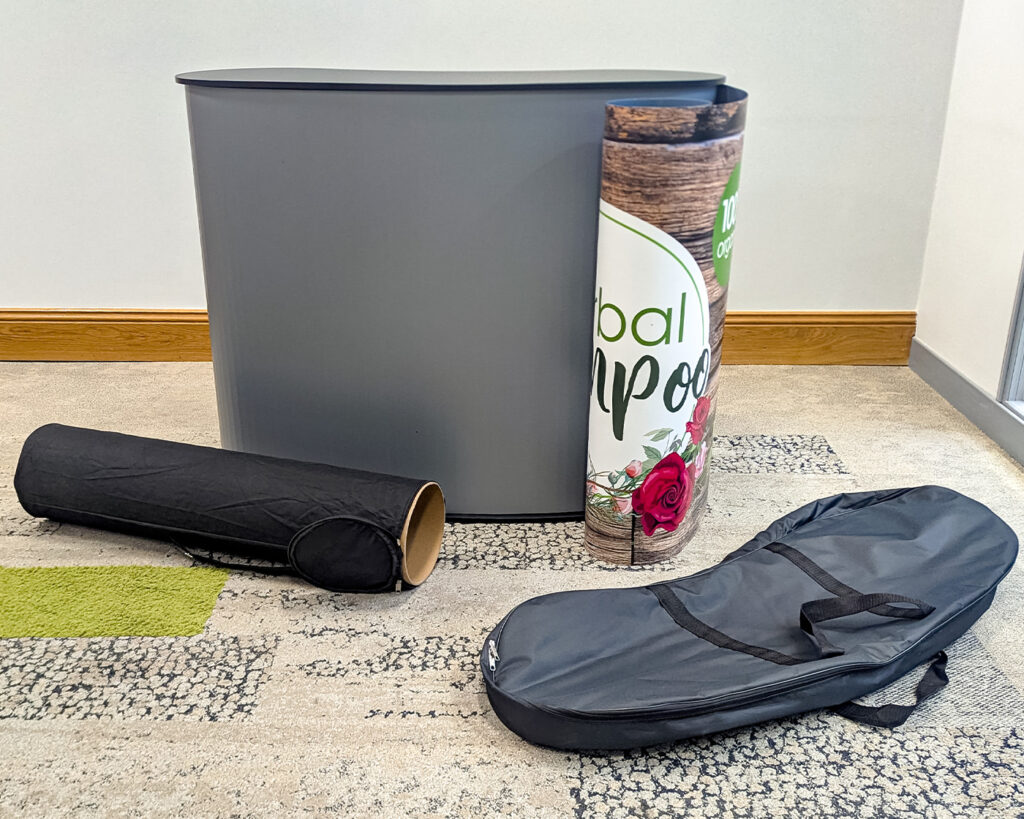
Step 4. Add the shelf, which includes two pole holders onto the shelf.
Step 5. Place the table unit ontop of the graphic, using the velcro to secure it.
Step 6. Connect the black metal poles together (a-b-c) and place them through the holes in the header and into the pole holders on the shelf. Rotate the final metal pole to extend as appropriate.
Step 7. Connect the Velcro tubes to the header graphic and place on top of the black metal poles.
Download Printable Instructions Here
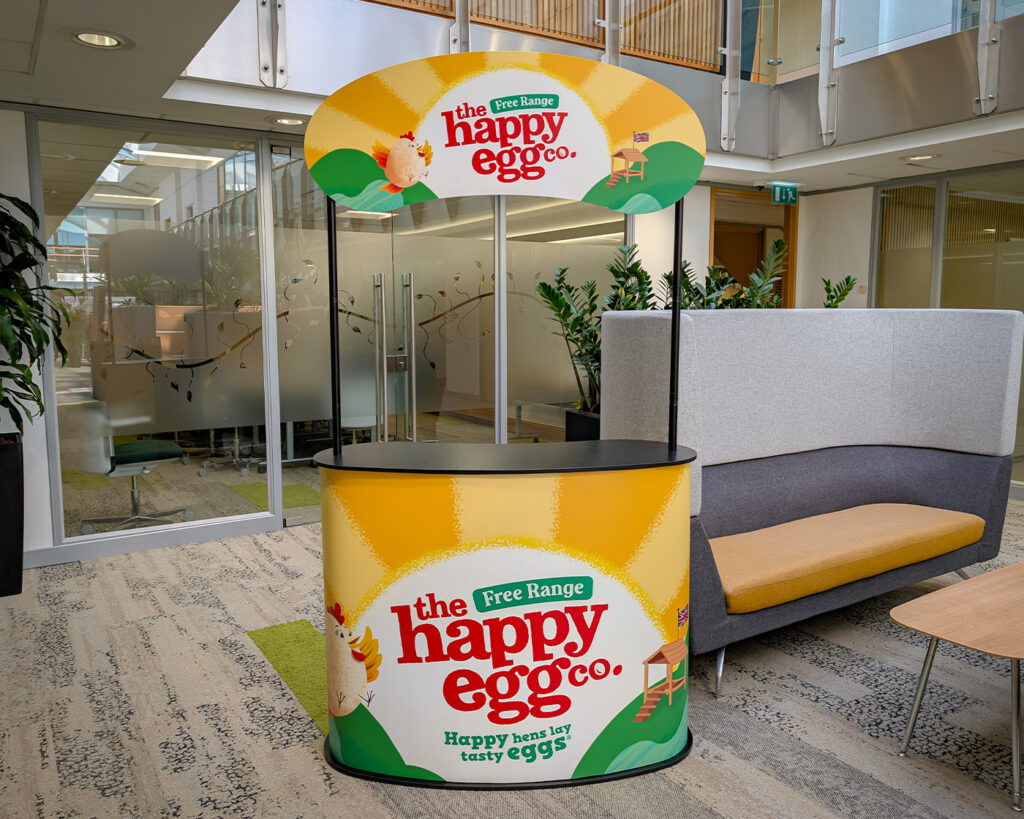
If you would like to order replacement graphics or headers, please contact our team or click on the link to find out more about our promotional event and sampling counter.